Logitech Harmony 1100 Bedienungsanleitung
Stöbern Sie online oder laden Sie Bedienungsanleitung nach Fernbedienung Logitech Harmony 1100 herunter. Logitech Harmony 1100 User Manual Benutzerhandbuch
- Seite / 48
- Inhaltsverzeichnis
- LESEZEICHEN
- Version 1.0 1
- Contents 2
- Introduction 5
- Getting to know your remote 5
- Activities 6
- Watch TV 8
- Using your Harmony 1100 10
- Using the Help button 11
- Charging your remote 12
- Overview of the setup process 13
- 5. Updating the remote 16
- Testing your setup 17
- Changing your setup 18
- Customizing your Harmony 1100 22
- Width: 55 pixels• 23
- Height: 55 pixels• 23
- Width: 320 pixels• 24
- Height: 240 pixels• 24
- Setting a background 25
- 2-6 in. 5-15 cm 26
- Maintaining your Harmony 1100 29
- Step 2 — Watch the TV 34
- Step 3 — Listen to the sound 34
- RF Wireless Extender 35
- Using the Emitters 38
- Attaching the emitters 39
- Contacting Customer Support 41
- Finding answers to questions 41
- Using the On-Remote Help 42
- Appendix B - Glossary 44
Inhaltsverzeichnis
UserManualVersion 1.0UserManualVersion 1.0
10The Activities screen displays the Activities you created for the remote. You can start an Activity by touching the item on the screen.Using your Ha
11When you start an Activity, the Harmony 1100 sends out commands to turn your devices on and sets them to the right input. However, if someone walks
12 Controlling your devices individuallyWhen you fi rst set up an Activity, the Harmony Remote Software automatically assigns common commands for you t
13Guided online setupWhen you insert the Harmony remote CD in your computer, the guided online setup launches. Follow the easy setup instructions to i
142. Connecting your Harmony 1100 to your computerTo connect your Harmony 1100 to your PC, use the USB cable provided.Remove your Harmony 1100
154. Setting up Activities for your Harmony 1100To set up Activities, you need to enter the information related to the Activities you will be u
165. Updating the remoteAfter you enter your device and Activity information, the software saves your information. It also transfers the inform
17Testing your setupEvery time you update your Harmony 1100, you should test your remote to make sure it’s working the way you expect. This chapter gi
18Whether you get a new device or want to change the behavior of some buttons, you may need to make changes to your Harmony 1100 setup. The following
19No picture? No sound? No problem! A passthrough device is a device that you add to your system that a signal passes through unaltered. For example,
ContentsIntroduction ...5Getting
20 Using the Harmony Remote Software, you can customize the Harmony 1100 on-remote help by selecting between two types of help:Smart Help• Asks que
21
22Customizing your Harmony 1100You can customize your Harmony 1100 to make the screen look and act the way you want. You can easily change the order i
23Changing how buttons work in an ActivityWhen you select an Activity, your Harmony 1100 turns on all the required entertainment devices, sets up the
24You can use your own pictures or images to create a slideshow on your Harmony 1100. To add a slideshow to your Harmony 1100, from the Harmony Remote
25Changing the backlight settingsThe Harmony 1100 senses when you pick it up, and lights up the display and buttons. To set the length of time the bac
26The Harmony one is always learning new tricks!Adding additional features to your Harmony 1100It’s possible that a device’s commands are not recogniz
27 Types of delays or speed settingsIf your device doesn’t react to a command from the Harmony 1100, it may be because the delay setting needs to be a
28Adjusting the delay between IR commands (speed settings)If you fi nd the delay between IR commands is too long, especially when changing channels on
29Maintaining your Harmony 1100After you fi nish making any changes to your Harmony 1100 confi guration, you should test the new setup to ensure everyth
Changing the order of Activities on your Harmony 1100 screen ...22Setting up your favorite channels ...
30Troubleshooting problems with your Harmony 1100In this section, you’ll fi nd some commonly reported issues and the suggested solutions. These solutio
31The On Demand command isn’t on the Harmony 1100 for the Watch TV Activity.You can map the command to any unused button on the Harmony • 1100 or on t
32Figuring out which inputs your system usesOne of the most important parts of creating Activities for your Harmony remote is determining which inputs
33Option 3 — Select the input from an on-screen menuIn this case, your device uses an on-screen menu from which you can select the input you want.When
34Step 2 — Watch the TVIn this step, you must use your TV’s original remote control to switch between inputs.Using your TV’s original remote, select e
35RF Wireless ExtenderThe RF Wireless Extender extends the range of your Harmony remote so that you can control devices that are not in plain view. Fo
36You can control your devices with either the Harmony remote or the RF Wireless Extender. Typically, you use the Harmony remote to control devices wi
37If you set the RF Wireless Extender to control a device, the following events occur when you select an Activity:The remote sends radio frequency (RF
38You have a lot of fl exibility where you can install the RF Wireless Extender. You can mount it on a wall or you can install it inside the cabinet wh
39To attach the emitters:Locate the area on the device where the signals are received.1. Attach an emitter directly to this area, or if you do not wan
Removing the RF Wireless Extender from your network ...40Getting help with your Harmony remote ...
40To remove the Wireless Extender from the network, from your Harmony Remote Software home page:Click 1. Remote Settings.Click 2. Manage Remotes.Cli
41 Getting help with your Harmony remoteIf you’re experiencing problems and can’t fi nd the solution, our courteous and expert professionals can assist
42When one or more of your devices don’t power on or off, or when they don’t switch inputs correctly, you can use the Help button on the remote for si
On most entertainment components, the model number is usually found on a label located on the front, back or bottom.Tip CenterHow to Find Model Number
44 Appendix B - GlossaryAmplifi erAnamorphic viewsAspect ratioA/V switchDLP® (Digital Light Processing)DVD recorder (DVR)HDTV (High Defi nition Televisi
45PassthroughPersonal Video Recorder (PVR)Pre-amplifi erPre-amp Sound ProcessingReceiverRF (Radio Frequency)RF Wireless ExtenderSACD (Super Audio CD)Sa
46Stereo receiverTunerPower stripAlso referred to as a tuner or a receiver. A stereo receiver is any component that receives or tunes, broadcast signa
47 Appendix C - Product Specifi cationLCD Size 3.5" DiagonalLCD Resolution 320 x 240 (QVGA)LCD Screen 64K ColorTouch Screen Technology ResistivePo
48© 2008 Logitech Inc. All rights reserved. Logitech's trademarks are either registered trademarks or trademarks of Logitech in the US and other
5Activities, devices, and inputsYou’re about to experience a new standard in simplicity with even the most complex components. You’re about to experie
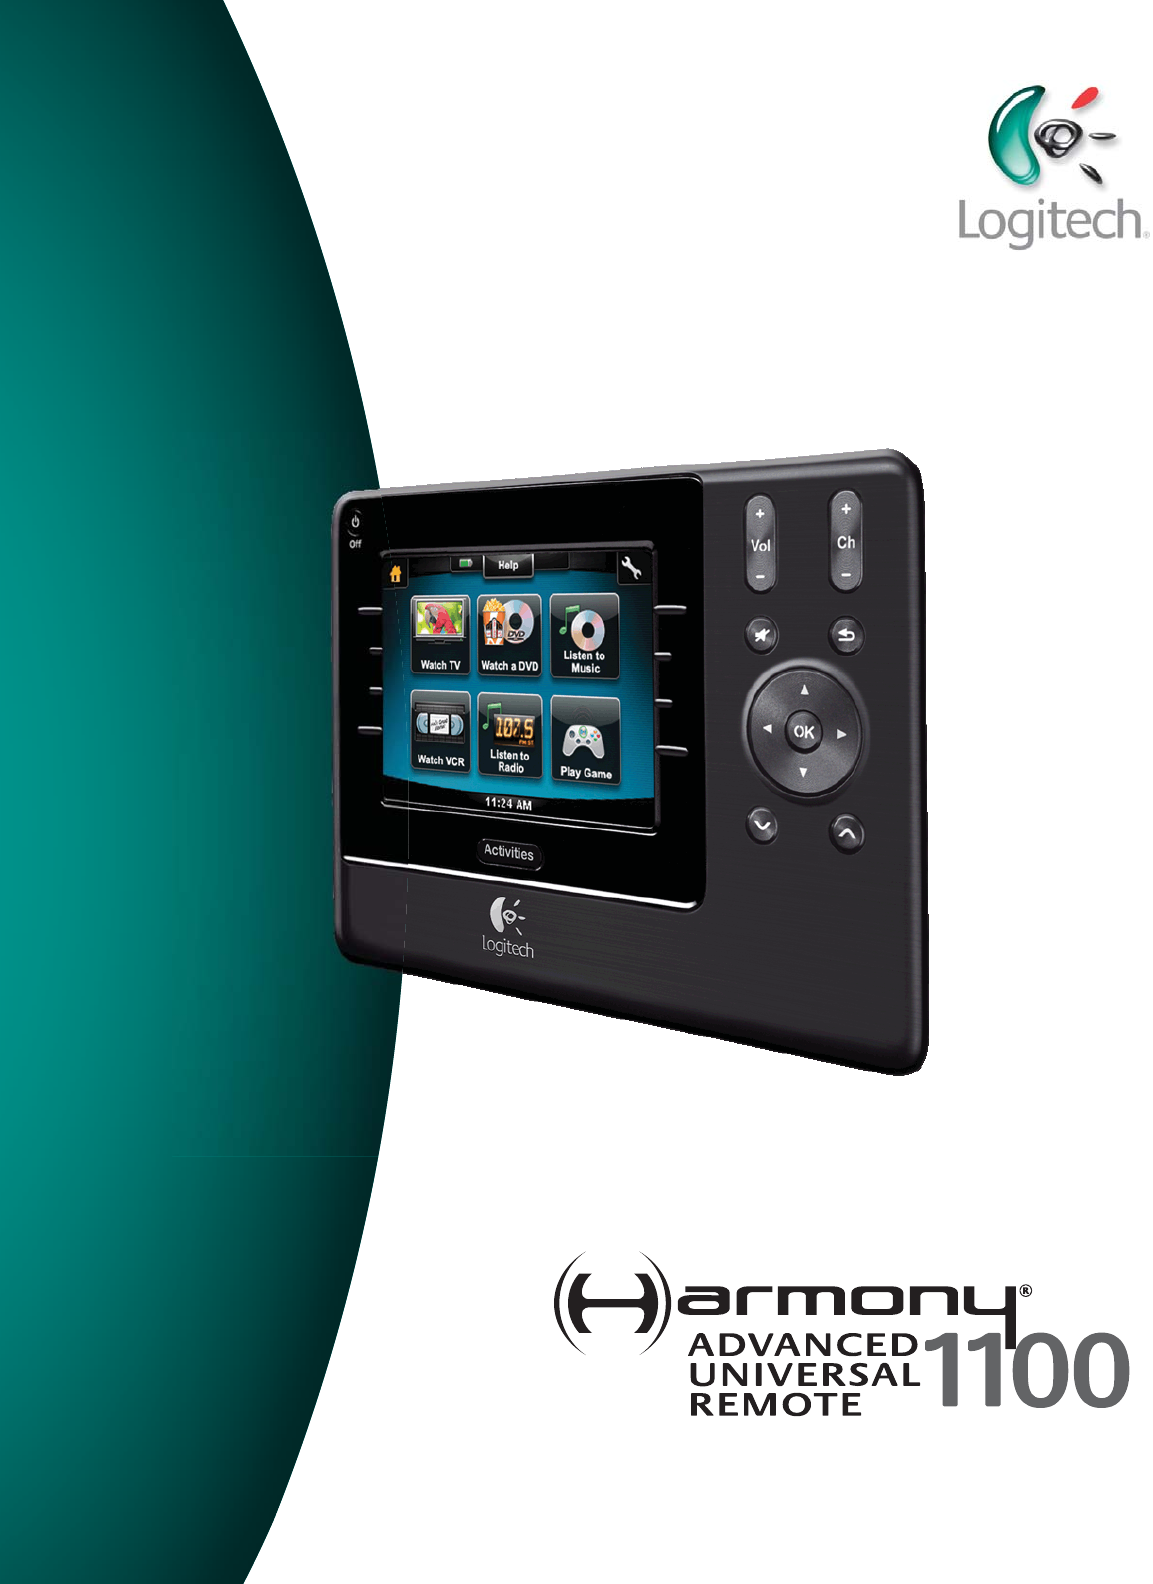
6The buttons on your Harmony 1100The Harmony 1100 buttons can have different functions or control different devices, The Harmony 1100 buttons can have
7Navigation icons123Home Takes you to the Activity home screen of your Harmony remote.Settings Provides access to the Slideshow, Remote Settings, an
8ActivitiesActivitiesThe Activities screen is your starting point on the Harmony The Activities screen is your starting point on the Harmony 1100. Fro
9Status iconsStatus iconsThe status indicator flashes whenever an IR command is being sent from your Harmony 1100.The status indicator flashes wheneve
Verwandte Produkte und Handbücher für Fernbedienung Logitech Harmony 1100
 (14 Seiten)


 (2 Seiten)
© 2020, manymanuals.de. Alle Rechte vorbehalten. | 0.395 s |
 Manymanuals.com
 Manymanuals.de
 Manymanuals.fr
 Manymanuals.it
 Manymanuals.pl
 Manymanuals.cz
 Manymanuals.es
 Manymanuals-pt.com
Kommentare zu diesen Handbüchern